chatgpt-web部署
本文最后更新于 2026年4月17日 早上
之前一直用QQ对话,但是当要给别人用的时候还是麻烦了点,于是部署个web版本。源码是直接github搜索,选择星最多的。本文记录其流程。
2023.7.13 由于模型切换问题,现在换成了yidadaa/chatgpt-next-web。见章节4
1 代理
这里和我之前在QQ机器人代理方案不同,想要流式输出,放弃了腾讯云,选择cloudflare,可无期限白嫖。前提是有个挂在它上面的域名。
- 进入控制台后点击workers,选择创建服务
- 名字顺便取,启动器选择http处理程序,点击创建服务
- 点击右上角的快速编辑,将下列代码复制其中,然后点击保存并部署
1
2
3
4
5
6
7
8
9
10
11
12
13
14
15
16
17
18
19
20
21
22
23
24
25
26
27
28
29
30
31
32
33
34
35
36
37
38
39
40
41
42
43
44
45
46
47
48
49
50
51
52
53
54
55
56
57
58
59
60
61
62
63
64
65
66
67
68
69
70
71
72
73
74
75
76
77
78
79
80
81
82
83
84
85
86
87
88
89
90
91addEventListener("fetch", (event) => {
event.respondWith(handleRequest(event.request));
});
async function handleRequest(request) {
const url = new URL(request.url);
const fetchAPI = request.url.replace(url.host, 'api.openai.com');
// 部分代理工具,请求由浏览器发起,跨域请求时会先发送一个 preflight 进行检查,也就是 OPTIONS 请求
// 需要响应该请求,否则后续的 POST 会失败
const corsHeaders = {
'Access-Control-Allow-Origin': '*',
'Access-Control-Allow-Methods': 'OPTIONS',
'Access-Control-Allow-Headers': '*',
};
if (request.method === 'OPTIONS') return new Response(null, { headers: corsHeaders });
let body;
if (request.method === 'POST') body = await request.json();
const authKey = request.headers.get('Authorization');
if (!authKey) return new Response("Not allowed", { status: 403 });
const payload = {
method: request.method,
headers: {
"Content-Type": "application/json",
Authorization: authKey,
},
body: typeof body === 'object' ? JSON.stringify(body) : '{}',
};
// 在 Cloudflare 中,HEAD 和 GET 请求带 body 会报错
if (['HEAD', 'GET'].includes(request.method)) delete payload.body;
// 入参中如果包含了 stream=true,则表现形式为流式输出
const response = await fetch(fetchAPI, payload);
if (body && body.stream !== true) {
const results = await response.json();
return new Response(JSON.stringify(results), {
status: response.status,
headers: {
"Content-Type": "application/json",
},
});
} else {
return new Response(response.body, {
status: response.status,
statusText: response.statusText,
headers: response.headers,
});
}
} - 在Custom Domains处点击查看,然后添加自定义域,这里只运行挂在它平台的域名。
- 可用使用下列代码测试测试这个代理,将其中xxx替换成你上面设置的域名
1
2
3
4
5
6
7
8
9
10
11
12
13
14
15
16
17
18
19
20
21
22
23
24
25
26
27
28
29
30
31
32
33
34
35
36
37
import requests
url = "https://xxxxxx/v1/chat/completions"
response = requests.post(
url,
headers={'Authorization' : 'Bearer 你的chatpt key'},
json={
"model": "gpt-3.5-turbo",
"messages": [{"role": "user", "content": "Hello!"}],
"stream": False,
},
)
if response.status_code != 200:
print("Error:", response.status_code, response.text)
else:
response_json = response.json()
completions = response_json['choices']
for completion in completions:
print(completion['message']["role"])
print(completion['message']["content"])
2 后端
克隆仓库:
1 | |
修改端口,在文件service\src\index.ts中(可选)
1 | |
将server文件夹扔到你的服务器,然后执行:
如果没有nodejs环境则:
1 | |
如果没有pnpm则:
1 | |
初始化和编译:
1 | |
配置https,不然如果你前端用https那么直接用ip调用是会被禁止的。修改nginx
1 | |
最好是填写配置,在server的.env文件中,不是根目录那个。我这只填写了三个参数:
1 | |
运行:
1 | |
查看运行的程序
1 | |
3 前端
上面克隆也已经下载了代码,这里修改后台地址,在.env中,改写
1 | |
编译
1 | |
然后将根目录下的dist文件夹仍到你服务器中,改写nginx配置
1 | |
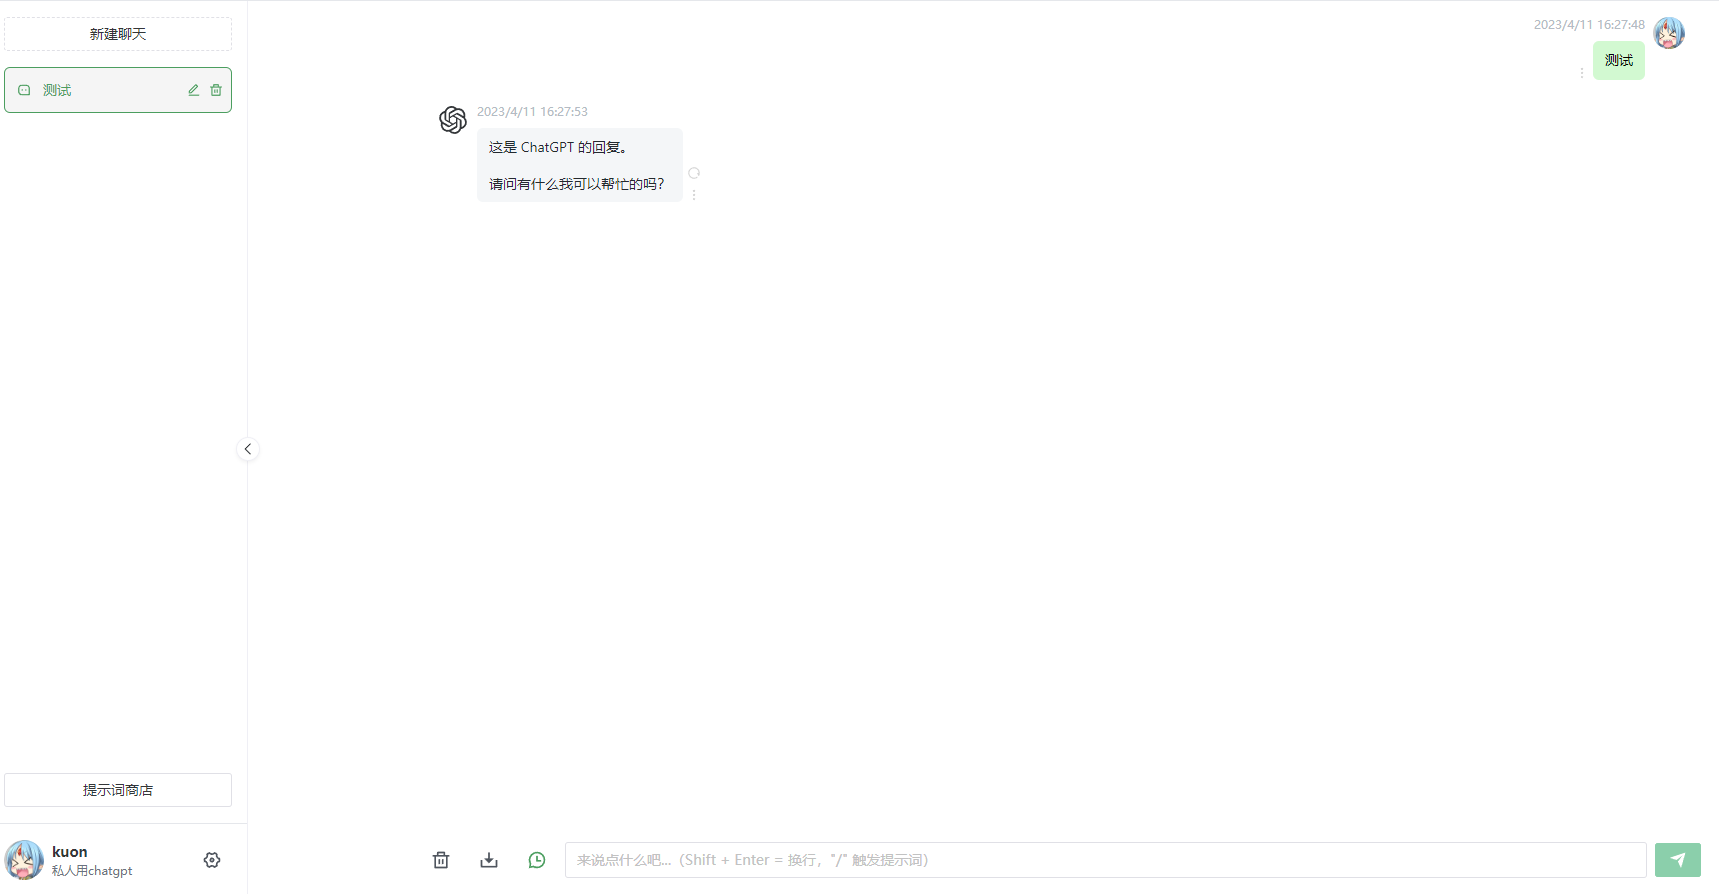
重启nginx,然后通过域名访问吧
1 | |
4 chatgpt-next-web
由于模型切换问题,决定换成了next-web,对我来说也没有啥前后端分离的必要。这个部署就更简单了,具体可以看他的仓库。我是使用的docker部署的。
1 | |
- OPENAI_API_KEY:你的chatgpt key
- CODE:页面使用的密码
- BASE_URL:代理
- HIDE_USER_API_KEY:是否允许用户使用自己的key
chatgpt-web部署
https://blog.kala.love/posts/8fcd91d4/