hexo的搭建和部署
本文最后更新于 2026年4月17日 早上
1. 前言
本文主要描述在win10和linux下搭建hexo,修改主题,然后去GitHub上或VPS上部署,也是刚接触,如有错误,望指正。
2. 博客搭建
2.1 环境
2.1.1 WIN10
安装nodejs
官网下载
打开powershell,以下命令均在此中执行1
2node -v
npm -v更换npm源(npm能用就忽略)
1
npm install -g --registry=https://registry.npm.taobao.org下载hexo,换了源则用cnpm
1 | |
2.1.2 ubuntu
1 | |
2.1.3 git 配置
1 | |
- 与github使用ssh通信(可选)
主要是我在github上拉取推送的时候经常超时,不得不才有此方式。然后让输入的地方全部回车,之后会在C:\Users\用户名.ssh文件夹生成。1
ssh-keygen -t rsa -C "[email protected]"
ubuntu被保存在/home/ubuntu/.ssh/ 复制id_rsa.pub中所以文本,打开GitHub设置,找到SSH and GPG keys选项,子页面点开New SSH key,将复制的内容粘贴进去,点击Add SSH key成功添加
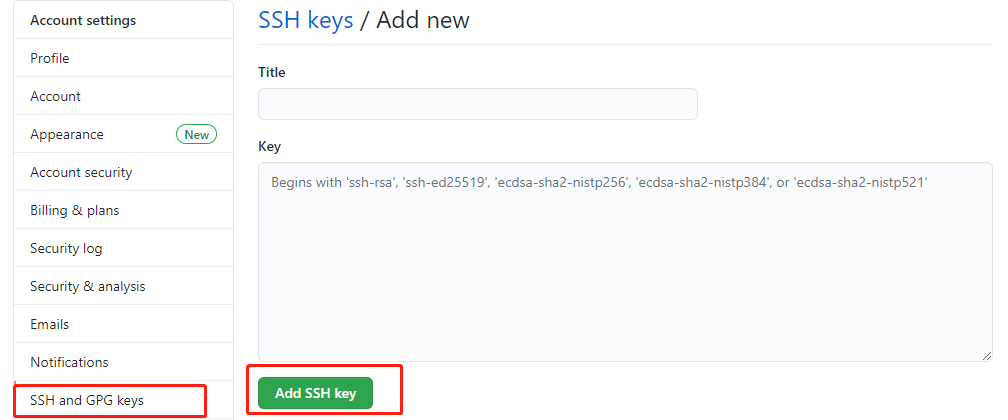 使用命令测试连接:此后克隆推拉都使用git@xxxx,而不使用https,就不会出现超时等连不上的错误了,对于已经使用https克隆的仓库也可以如下修改
1
2
3ssh -T [email protected]
返回
Hi lissettecarlr! You've successfully authenticated, but GitHub does not provide shell access.
1 | |
2.2 初始化博客
- 创建一个保存博客的位置blog
1
mkdir blog - 在该文件夹中执行初始化将会生成下列文件,至此基础博客就搭建起来了
1
hexo init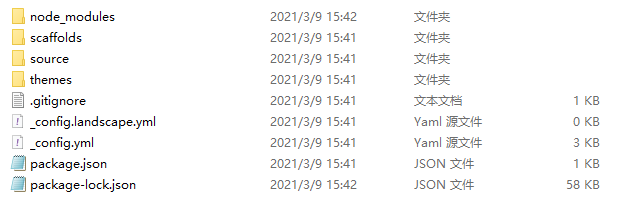
- 启动博客打开浏览器,输入地址http://localhost:4000/,便可以看到
1
hexo s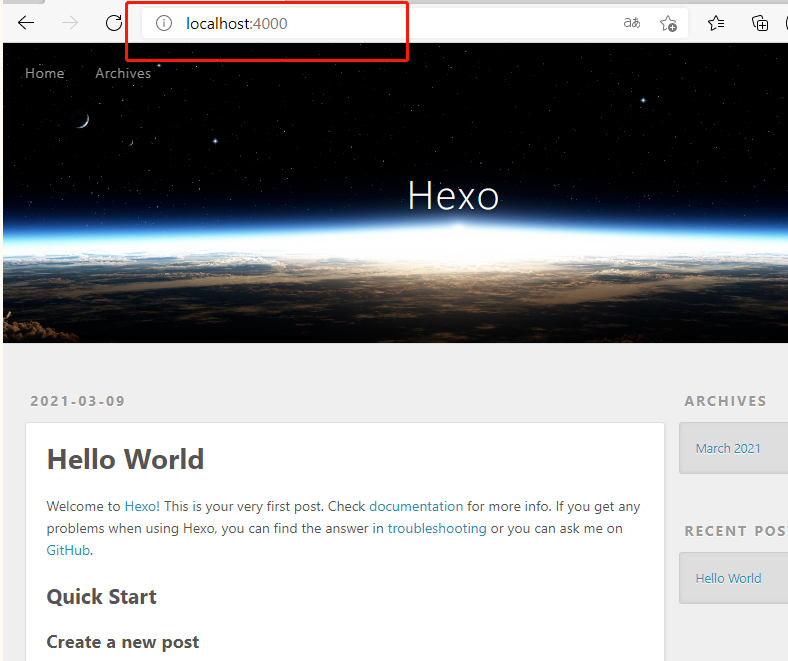
2.3 配置
2.3.1 文章的图片相关配置(具体可见文章《vscode编辑MD图片粘贴插件》)
- 修改blog/_config.yml
1
post_asset_folder: true - 下载插件
1
npm install https://github.com/CodeFalling/hexo-asset-image --save
2.3.2 主题
yilia主题
安装方式里面也有写,这里就复述一遍:
- 把主题文件克隆下来扔到themes中去
1
git clone https://github.com/litten/hexo-theme-yilia.git themes/yilia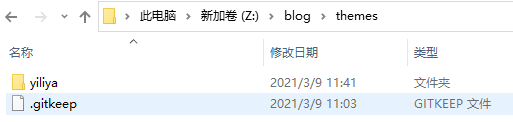
- 修改blog/_config,yml配置文件,注意不是主题文件里面的哦!
1
theme: yilia
2.3.3 主题的一些配置
修改头像
在yilia主题文件夹里面也有个_config.yml,里面保存着配置文件。
找到avatar:后面就是填写头像地址,例如我在source文件夹里面建了个img文件夹用于保存图片,往里扔头像图片kala.jpg。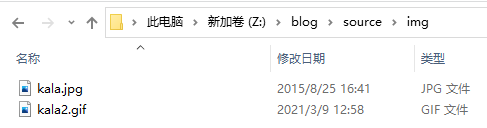
然后修改主题里的配置文件_config.yml
1
2#你的头像url
avatar: /img/kala.jpg在头像上方添加动图
修改主题里的配置文件_config.yml1
2
3
4
5
6
7style:
# 左侧头像板块动态图效果
gif:
# 是否启用
enable: true
# 自定义背景图路径(默认可以不设置,提供默认背景图biubiubiu.gif)
path: /img/kala2.gif然后再找到\blog\themes\yilia\layout\_partial文件夹下的left-col.ejs修改
1
2
3
4
5<% var defaultBg = '#4d4d4d'; %>
<% var defaultBgImg = '/img/kala2'; %>
<% var overlayBgImg= theme.style.gif && theme.style.gif.enable && theme.style.gif.path ? theme.style.gif.path : defaultBgImg; %>
<div class="overlay" style="background: <%= theme.style && theme.style.header ? theme.style.header : defaultBg %>;<% if (theme.style.gif && theme.style.gif.enable){ %>background: url('<%- url_for(overlayBgImg) %>') no-repeat ;<%}%> z-index:-1"></div>效果如下:

取消一些主题的印迹
在\blog\themes\yilia\layout\_partial中footer.ejs中1
2
3<a href="http://hexo.io/" target="_blank">Hexo</a> Theme <a href="https://github.com/litten/hexo-theme-yilia" target="_blank">Yilia</a> by Litten
改为
<a href="http://hexo.io/" target="_blank">Hexo</a>此处也可以修改为备案信息
1
<a href="https://beian.miit.gov.cn/#/Integrated/index" target="_blank">渝ICP备2021002648号-1</a>翻页设置
修改文件themes\yilia\layout\_partial\archive.ejs的8行、9行、37行和38行1
2prev_text: '上一页',
next_text: '下一页;'修改文件themes\yilia\layout\_partial\script.ejs
搜索« Prev,改为上一页
搜索next »,改为下一页
2.4 写文章
- 创建一个新文章,被默认保存在blog\source\_posts
1
hexo new "新建文章" - 添加图片
按照上文配置后,会在_posts中生成一个文章同名文件夹,属于该文章的图片就放入此中,引用就以下列方式使用相对路径1
 - 文章title部分
文章在使用命令建立则自动添加,手动建立则需要自己补充,示例如下1
2
3
4
5
6
7---
title: hexo的搭建和部署
date: 2021-03-15 17:09:14
tags:
-hexo
reward: true
--- - 文章外部显示部分(属于主题的配置)
1
<!-- more --> 以下内容将被隐藏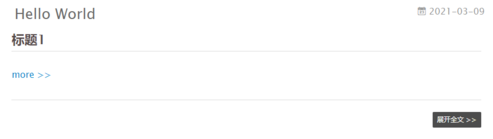
2.5 其他
发生报错
1
2
3报错:
INFO Validating config
WARN Deprecated config detected: "external_link" with a Boolean value is deprecated. See https://hexo.io/docs/configuration for more details.修改配置文件
1
2
3
4
5
6
7//原
external_link: true # Open external links in new tab
//改
external_link:
enable: true # Open external links in new tab
field: site # Apply to the whole site
exclude: ''看板娘
1
npm install --save hexo-helper-live2d选个模型https://huaji8.top/post/live2d-plugin-2.0/
1
npm install live2d-widget-model-模型名配置博客的config.yml
1
2
3
4
5
6
7
8
9
10
11
12
13
14
15
16
17
18# Live2D
## https://github.com/EYHN/hexo-helper-live2d
live2d:
enable: true
scriptFrom: local
pluginRootPath: live2dw/
pluginJsPath: lib/
pluginModelPath: assets/
tagMode: false
debug: false
model:
use: live2d-widget-model-hijiki # 模型:https://huaji8.top/post/live2d-plugin-2.0/
display:
position: right
width: 150
height: 300
mobile:
show: true
3. 部署博客
3.1 github
以下是在建立了ssh通信的方式时
3.1.1 部署
在github上新建个仓库,名称要与用户名一直,如下

在博客根目录安装插件
1
npm install --save hexo-deployer-git修改根目录下的_config.yml
1
2
3
4
5
6# Deployment
## Docs: http://hexo.io/docs/deployment.html
deploy:
type: git
repository: [email protected]:lissettecarlr/lissettecarlr.github.com.git
branch: master静态文件
1
hexo g此命令将生成一个public文件夹,里面保存的就是部署网页用的静态页面。
部署,这里实际就是把public文件给仍上去了
1
hexo d可能会出现两种问题,第一种是SSH密匙没弄好,第二种是_config.yml文件修改错了。
使用lissettecarlr.github.io可以查看部署后的网页
3.1.2 自动部署
使用github的actions功能,这里需要新建一个分支,也就是之前的master分支保存了public中的网页静态文件,新建的分支是保存hexo博客的基础文件,之后只需要在增改文章后,推送此分支,就会自动部署。
以下是git分支命令的参考
1 | |
在博客根目录建立文件夹和文件/.github/workflows/deploy.yml
1 | |
之后修改直接推送就自动部署了
1 | |
3.2 vps
这里我直接拉取github上面的部署文件,然后用nginx指向它就OK了。
安装nginx
1
2sudo apt-get install nginx
nginx -v启动nginx
1
service nginx startgit 拉取部署文件
1
git clone https://github.com/lissettecarlr/lissettecarlr.github.io.git记录下地址,然后进入/etc/nginx/sites-available修改default
1
2
3sudo vim default
# root /var/www/html;
root /home/ubuntu/lissettecarlr.github.io/;重启nginx
1 | |
3.3 我目前使用的方式
由于github的网页国内访问实在太卡,所以就想着用CDN,但是这必须要备案了个网站,于是就去腾讯云买了个国内特别便宜的vps,但既然都买了个vps,就干脆直接部署到上面得了,gihub就当个备份。
在测试了新的vps后发现,对接GitHub实在是非常卡,基本不能用,不得不用gitee来存储部署文件,一开始我是用gitee上的克隆功能直接复制github仓库的,但是每次都得登录它的页面去点同步,太麻烦了,就干脆将hexo deploy的地址绑上去。github仍然保存源码,然后利用actions功能自动生成部署文件。
注意git的权限问题,ssh密匙对应的是当前用户,如果你使用sudo来运行git,则需要给root也添加个密匙。
以下是vps的脚本,就是去拉取gitee的部署文件,然后更新本地的部署文件,执行使用sudo bash
1
2
3
4
5
6
7
8
9
10
11
12
13
14
15
16
17
18
19#!/bin/bash
file="/var/www/hexo"
echo "-------------start-----------------"
echo "start git pull"
cd ~/giteeBlog/blog
git pull
echo "start cp"
if [ ! -d "$file" ]; then
echo "创建文件夹"
mkdir /var/www/hexo
else
echo "已存在-删除后创建"
rm -r /var/www/hexo
mkdir /var/www/hexo
fi
cp -r ~/giteeBlog/blog/* /var/www/hexo
echo "copy over"
service nginx restart以下是在本地弄了个脚本图方便
1
2
3
4cd ..
git add -A
git commit -a -m "fix"
git push origin blog1
hexo g & hexo d & hexo clean